I'm often asked about bending rules for curved print projects and I have to say, it's a lot easier than it looks, assuming you can work with a 'gravity assisted' press (thanks to Springtide Press for the term) such as a Vandercook. Locking them up in a chase for platen presses is possible but is much more difficult.
Do you need special tools? No. Here are a few options I rely on in the studio; you'll never guess which gets the most use.
Both of the official rule benders are on loan from the Platen Press Museum but it's the needlenose pliers I use the most.
The biggest concern when bending type metal rules (brass is different) is using a good quality rule. It can be difficult to tell the good from the bad but the older they are the better they tend to be (perhaps more recent rule makers haven't been as picky with their type metal?) When bending, they can easily crack and break. Heck, I can cut 2 pt rules cast with poor metal with scissors.
Here's how the official 'big guy' works. A rule is placed within the cylindrical drums and the left side wheel can adjust how tightly it's held (the tighter it is, the smaller the curve.)
PLEASE NOTE: I'm left-handed so I use both of the rule benders in a way that my left hand is in control of guiding the rule and the curve. These work in the other direction just as well.
Then it is cranked through and you can carefully remove it by loosening the drums. It's possible to adjust what part of the rule goes in and how tight the curve is. There's a video of me doing this here.
The smaller rule bender is fitted with a series of brass curves at different diameters so you can choose the best for your rule. After placing it in, the top closes and the small crank on the right tightens it.
Just for fun, here's a page from a Marder & Luse (Chicago!) specimen book that shows both of the above. I discovered this while researching specimen books at my favorite place, The Newberry Library.
These tools are required if you're bending brass which is considerably harder. If not, then you can easily bend rules without fancy equipment. I have a series of pliers that get the job done. The rules can be gently coaxed, bit by bit, until you get the curve you're looking for.
Remember to check if you're working with rule or leads. Sometimes you'll need to bend leads as well to help support a rule or type and it's the same process. Rules are type high, leads are not.
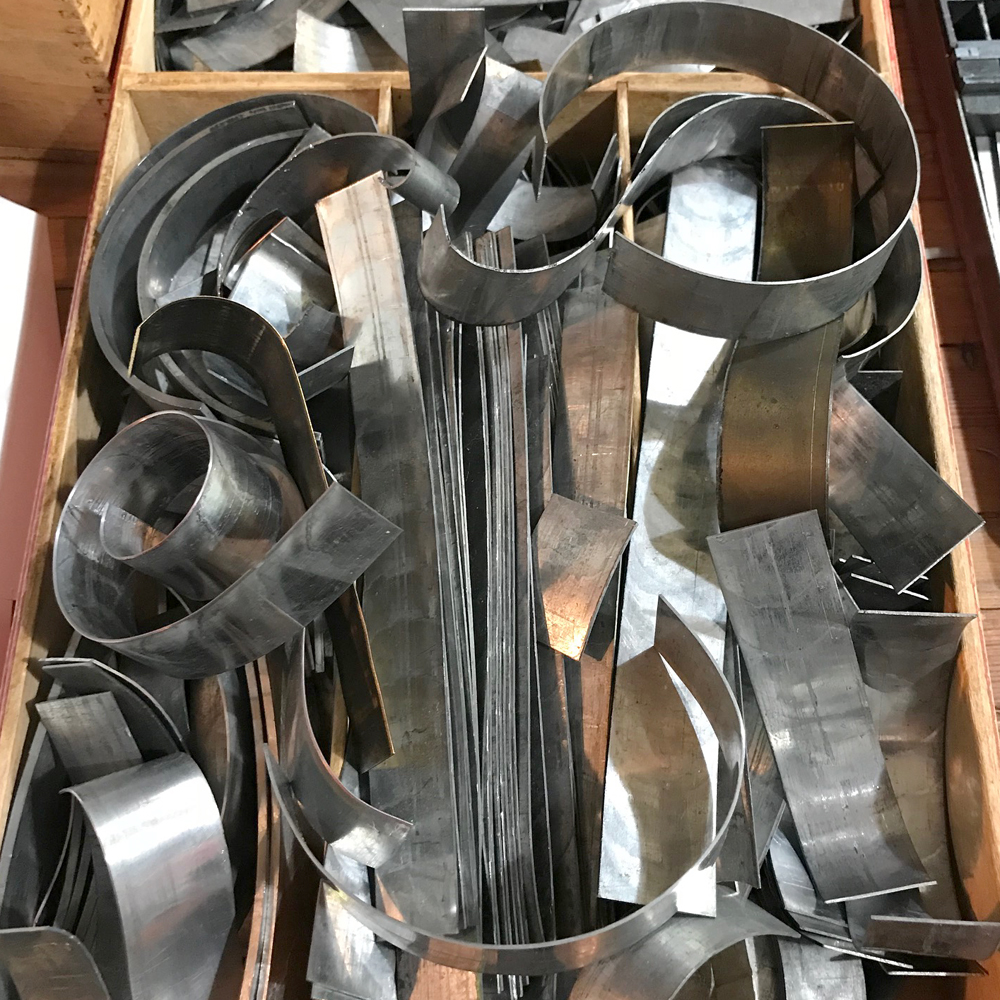
I keep all of my bent rules and leads in a box separate from the rest of the rules and leads in the shop. Once they've got a kink or curve in them, they're virtually useless for straight line setting again, unless you're working with large type.
These little boxes are treasures in the studio and house sets of brass curves for similar printing. However, they're from France, which means they are slightly higher than our .918" type height. They can certainly be used alone for printing, but check any European curves first before combining them with American/British type & ornament.
When it comes to setting up curves to print, your efforts are as good as mine. I like to build out a framework of furniture first and then fill gaps with the biggest spacing possible. Then I work down from there and occasionally combine angled and curved furniture as well. Below is a form built with Tina of Arquoise Design; we combined ornaments, mortised flourishes and bent rules.
In this 'wave' you can see how a framework of bent leads gave structure to the ornaments I then placed inside of it. Not every single space around the curve needs to be filled.
Are you bending the rules with your printing these days? Please share! And for more inspiration, please visit Naomi Kent's instagram feed (@inksquasher) for some incredible setting as well as her experiments with using jeweler's equipment to achieve many of these effects.


